Overview
Manage the WiFi credentials shown to guests on the TV. Follow the steps below to complete this task.
📂 Settings - Unit Setting
Beginner
⏱ 2 min
📋 4 steps
Navigate to WiFi
Open the page from the sidebar
In the left sidebar, expand Settings then Unit Setting and click WiFi. It manages the WiFi network details displayed to guests on the TV.
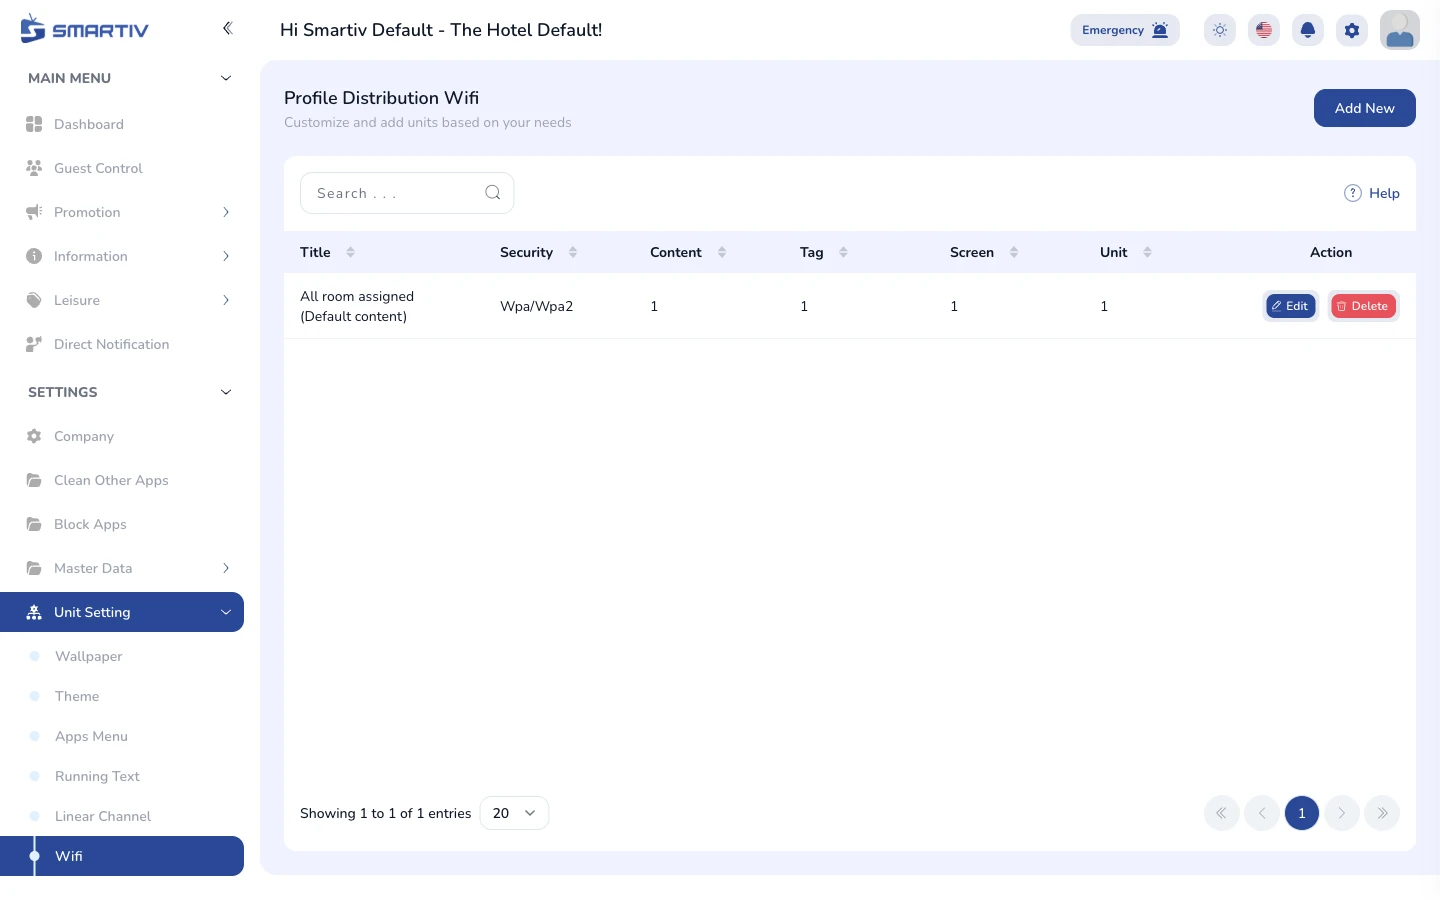
The WiFi page under Settings › Unit Setting.
NoteDirect URL:
/settings/unit-setting/wifiReview the Current Configuration
See what is applied to the TVs
The page shows the WiFi entries with network name and the units they apply to.
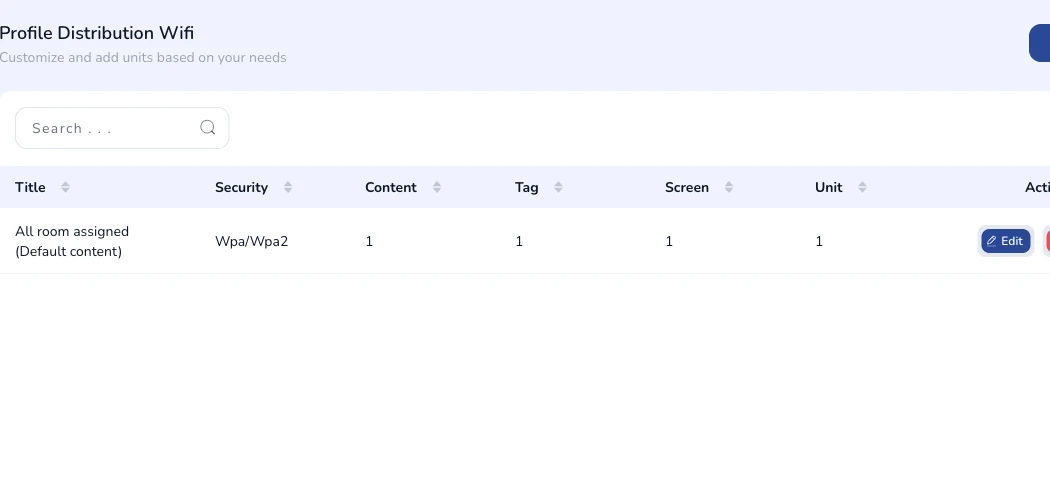
Current wifi configuration shown on the page.
Add a New Configuration
Open the creation form
Click the Add New button in the top-right corner. A modal dialog appears with the configuration fields.

The "Add New" button in the top-right corner.
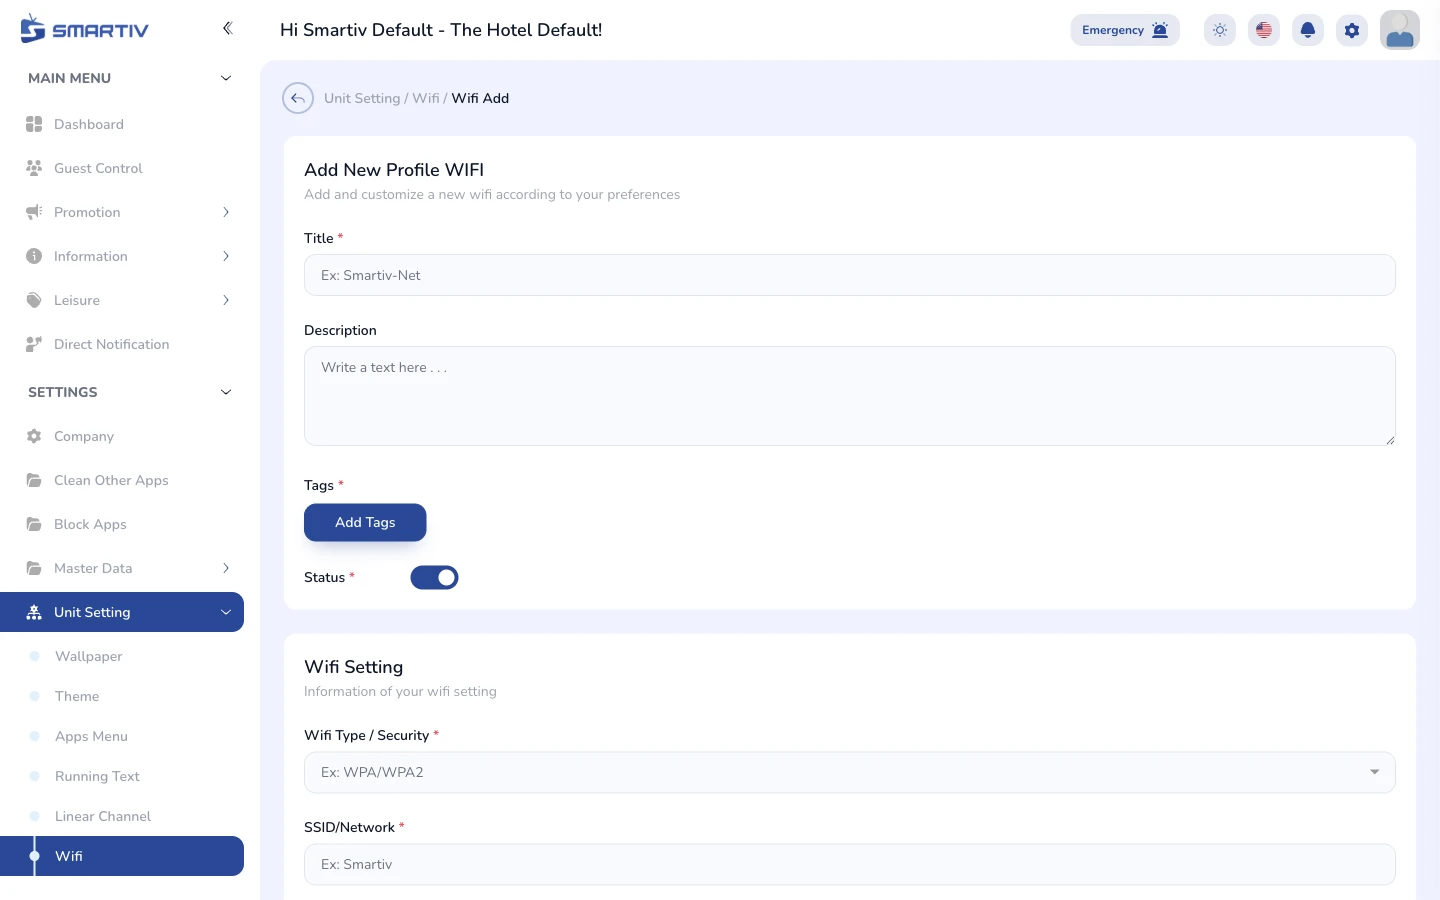
The empty configuration form modal.
Fill In the Form and Save
Complete the fields and submit
Enter the SSID and password guests should use, and assign the entry to the relevant unit types. Click Save to apply. Changes are pushed to the assigned unit TVs automatically.
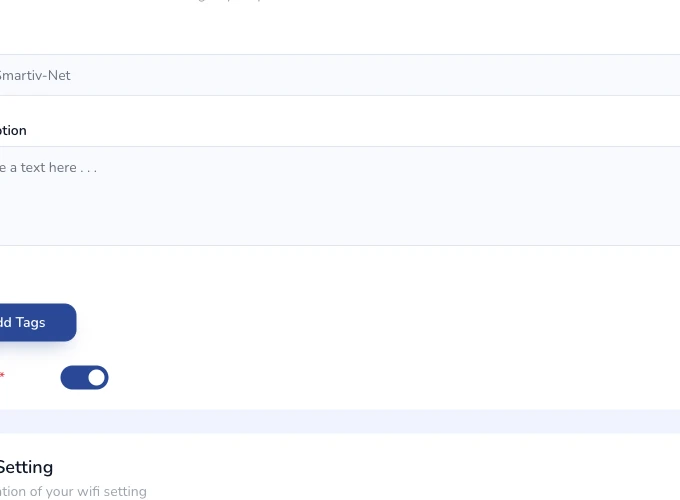
Close-up of the configuration form fields.
ImportantDouble-check the password before saving — guests will see exactly what you type here.